
Contents
初めに
REST API連携に関しては既に以下の記事があります。
Salesforce API連携入門(SF→外部システム編):Salesforceから外部システムのAPIをApex Calloutを用いて叩く記事
Salesforce API連携入門(外部システム→SF編):外部からRESTでSF標準のAPIを叩いてレコードをPOSTする記事
前書き
本記事ではPostmanを利用してSOAP APIでSalesforceのAPIを叩いてみたいと思います。
認証にはユーザ名とパスワードを利用した方法を用いる予定です。
皆さんお馴染み(?)の「データローダ(DataLoader)」はSOAP APIで動作しており、背後の仕組みは今回ご紹介する内容とほぼ同一です。
手順
- Postmanの準備
- セキュリティトークンの取得
- SFにPOSTリクエストを投げてセッションIDを取得
- セッションIDを利用したSFへのリクエスト
Postmanの準備
1.ここからPostmanをダウンロードして起動
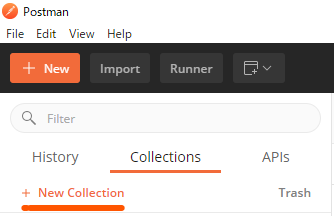
2.起動後、画面左側のCollectionsタブから「+ New Collection」をクリック
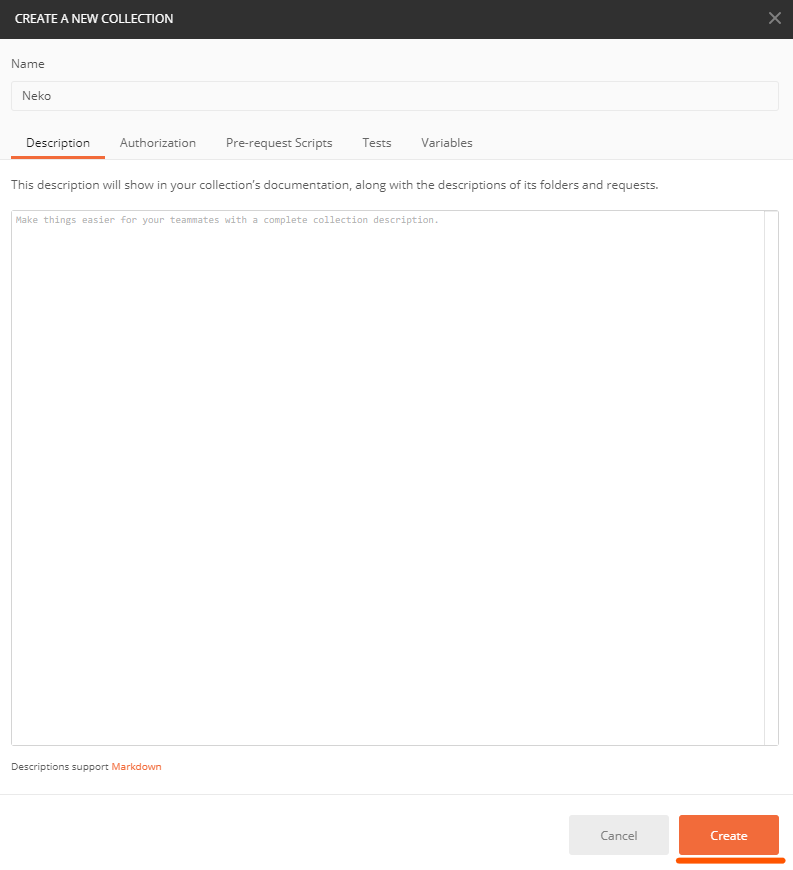
3.任意のNameを入力し「Create」をクリック
4.作成したCollectionの設定ボタンから「Add Request」を選択

5.適当な名前を付けて保存(セッションID取得用のリクエストをここで書きます)
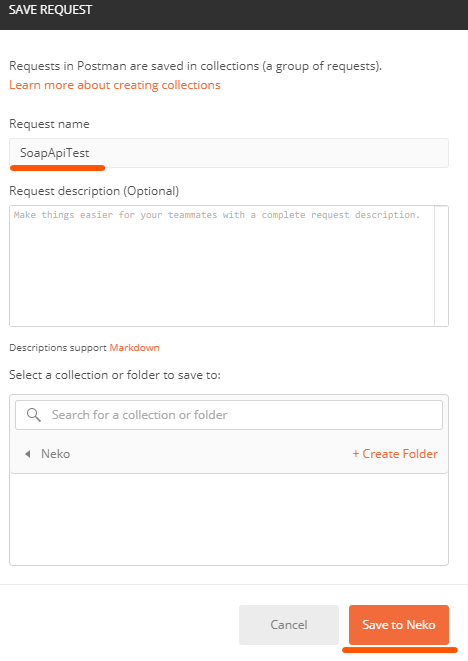
6.同一手順でもう一つREQUESTを作成(SFのAPIをガンガン叩いていくリクエストです)

セキュリティトークンの取得
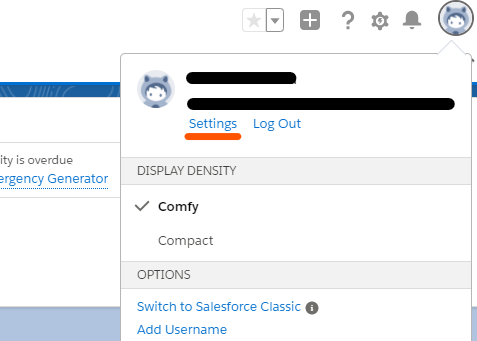
1.画面右上のアイコン>設定の順にクリック
2.私のセキュリティトークンのリセット>セキュリティトークンのリセットの順にクリック
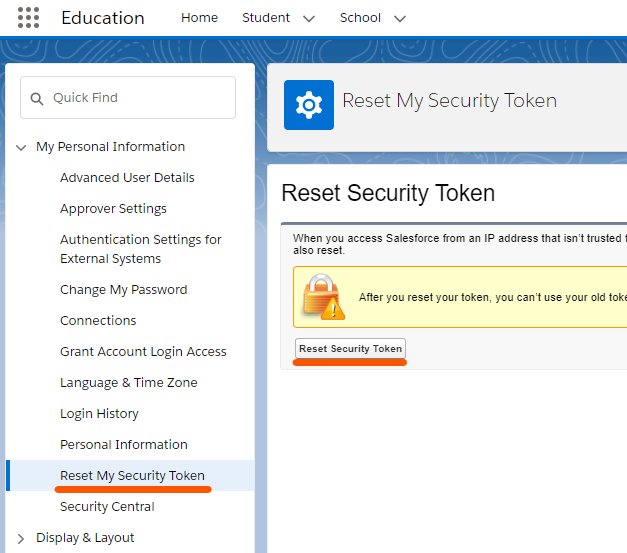
3.自分のメアド宛てに届いたセキュリティトークンをGET(いえい)
SFにPOSTリクエストを投げてセッションIDを取得
1.HTTPメソッドをPOSTに変更し、下記のURLを記載
https://login.salesforce.com/services/Soap/c/49.0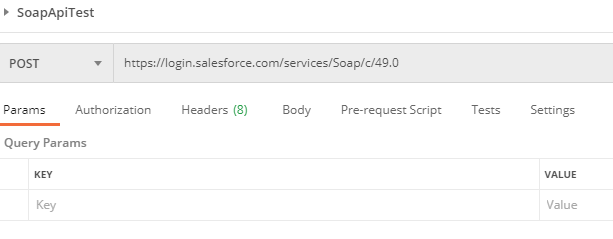
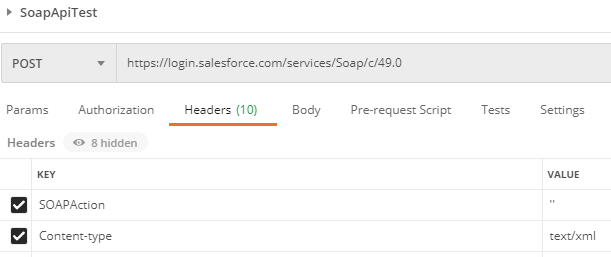
2.Headerに下記をセット。上のURLもそうですが、大文字と小文字ミスると後でエラー出るの注意してください。
| KEY | VALUE |
| SOAPAction | ” |
| Content-type | text/xml |
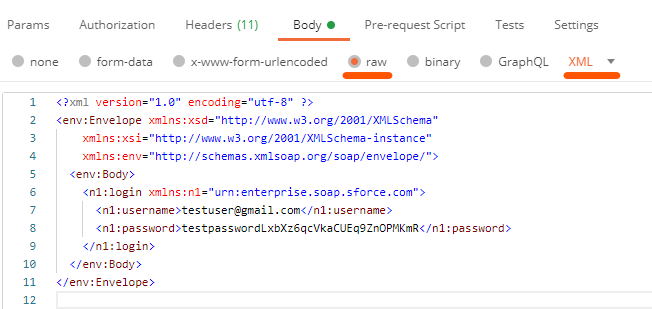
3.Bodyの種別をnoneからrawに変更。形式がXMLになっていることを確認したうえで、Bodyに下記を記載。
<?xml version="1.0" encoding="utf-8" ?>
<env:Envelope xmlns:xsd="http://www.w3.org/2001/XMLSchema"
    xmlns:xsi="http://www.w3.org/2001/XMLSchema-instance"
    xmlns:env="http://schemas.xmlsoap.org/soap/envelope/">
  <env:Body>
    <n1:login xmlns:n1="urn:enterprise.soap.sforce.com">
      <n1:username>ユーザ名</n1:username>
      <n1:password>パスワードセキュリティトークン</n1:password>
    </n1:login>
  </env:Body>
</env:Envelope>
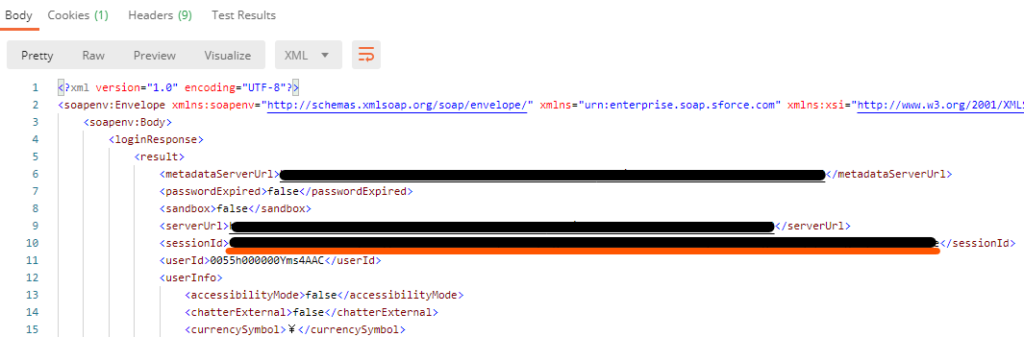
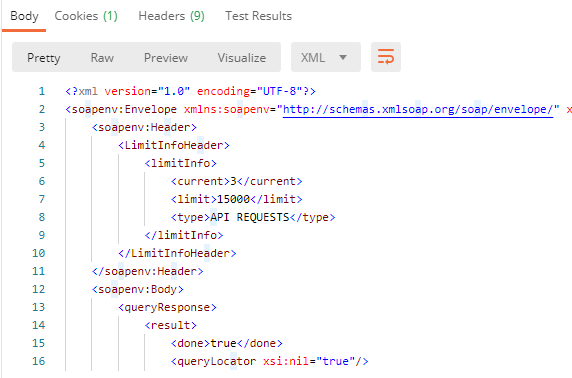
4.「Send」をクリックし、レスポンスBodyからセッションIDをGET(いえい)
セッションIDを利用したSFへのリクエスト
1.HTTPメソッドをPOSTに変更し、下記のURLを記載
https://私のドメイン.my.salesforce.com/services/Soap/c/49.0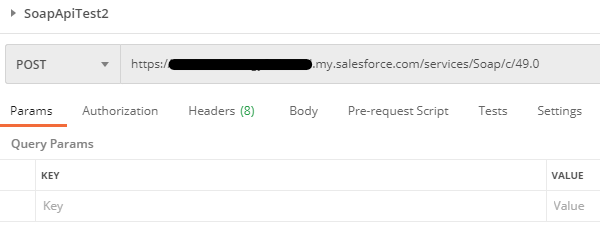
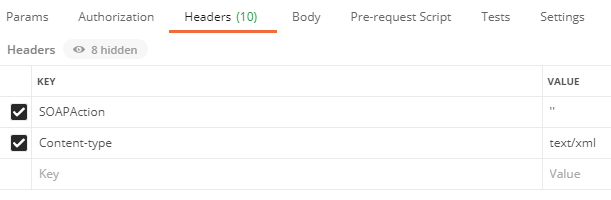
2.Headerに下記をセット。先ほどと同じく、大文字と小文字ミスると後でエラー出るの注意。
| KEY | VALUE |
| SOAPAction | ” |
| Content-type | text/xml |
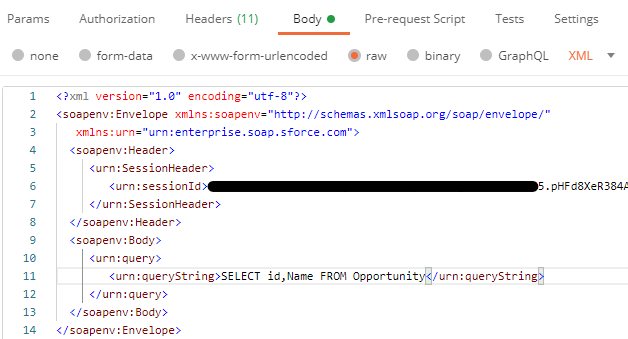
3.Bodyの種別をnoneからrawに変更。形式がXMLになっていることを確認したうえで、Bodyに下記を記載。
<?xml version="1.0" encoding="utf-8"?>
<soapenv:Envelope xmlns:soapenv="http://schemas.xmlsoap.org/soap/envelope/"
   xmlns:urn="urn:enterprise.soap.sforce.com">
  <soapenv:Header>
     <urn:SessionHeader>
        <urn:sessionId>セッションID</urn:sessionId>
     </urn:SessionHeader>
  </soapenv:Header>
  <soapenv:Body>
     <urn:query>
        <urn:queryString>SELECT id,Name FROM Opportunity</urn:queryString>
     </urn:query>
  </soapenv:Body>
</soapenv:Envelope>
4.「Send」をクリックし、レスポンスBodyから必要な情報をGET(いえい)
INSERTの場合
レコードをINSERTしたい場合は下記のbodyに書き換えます。
<?xml version="1.0" encoding="utf-8"?>
<soapenv:Envelope xmlns:soapenv="http://schemas.xmlsoap.org/soap/envelope/"
  xmlns:urn="urn:enterprise.soap.sforce.com"
  xmlns:urn1="urn:sobject.enterprise.soap.sforce.com"
  xmlns:xsi="http://www.w3.org/2001/XMLSchema-instance">
  <soapenv:Header>
     <urn:SessionHeader>
        <urn:sessionId>セッションID</urn:sessionId>
     </urn:SessionHeader>
     <urn:MruHeader>
         <urn:updateMru>false</urn:updateMru>
     </urn:MruHeader>
  </soapenv:Header>
  <soapenv:Body>
    <urn:create>
        <urn:sObjects xsi:type="urn1:Account">
            <Name> Neko Company </Name>
            <Phone> 0120345678 </Phone>
        </urn:sObjects>
        <urn:sObjects xsi:type="urn1:Account">
            <Name> Cat Company </Name>
            <Phone> 1203456789 </Phone>
        </urn:sObjects>
        <urn:sObjects xsi:type="urn1:Account">
            <Name> Dog Company </Name>
            <Phone> 2034567890 </Phone>
        </urn:sObjects>
    </urn:create>
  </soapenv:Body>
</soapenv:Envelope>
※updateMruの値をTrueにすると「Recently Viewed」リストビュー一覧に最初から表示されます。
複数オブジェクトのレコードを同時にINSERTしたい場合は以下のようなbodyを指定します。
<?xml version="1.0" encoding="utf-8"?>
<soapenv:Envelope xmlns:soapenv="http://schemas.xmlsoap.org/soap/envelope/"
  xmlns:urn="urn:enterprise.soap.sforce.com"
  xmlns:urn1="urn:sobject.enterprise.soap.sforce.com"
  xmlns:xsi="http://www.w3.org/2001/XMLSchema-instance">
  <soapenv:Header>
     <urn:SessionHeader>
        <urn:sessionId>セッションID</urn:sessionId>
     </urn:SessionHeader>
     <urn:MruHeader>
         <urn:updateMru>false</urn:updateMru>
     </urn:MruHeader>
  </soapenv:Header>
  <soapenv:Body>
    <urn:create>
        <urn:sObjects xsi:type="urn1:Account">
           <Name>Neko Company</Name>
           <Phone>0120345678</Phone>
        </urn:sObjects>
           <urn:sObjects xsi:type="urn1:CustomObject__c">
            <Name__c>Dog</Name__c>
            <CustomField__c>Wan</CustomField__c>
        </urn:sObjects>
           <urn:sObjects xsi:type="urn1:CustomObject__c">
            <Name__c>Cat</Name__c>
            <CustomField__c>Nyan</CustomField__c>
        </urn:sObjects>
    </urn:create>
  </soapenv:Body>
</soapenv:Envelope>